Nightclub Photography
Tips& Tricks
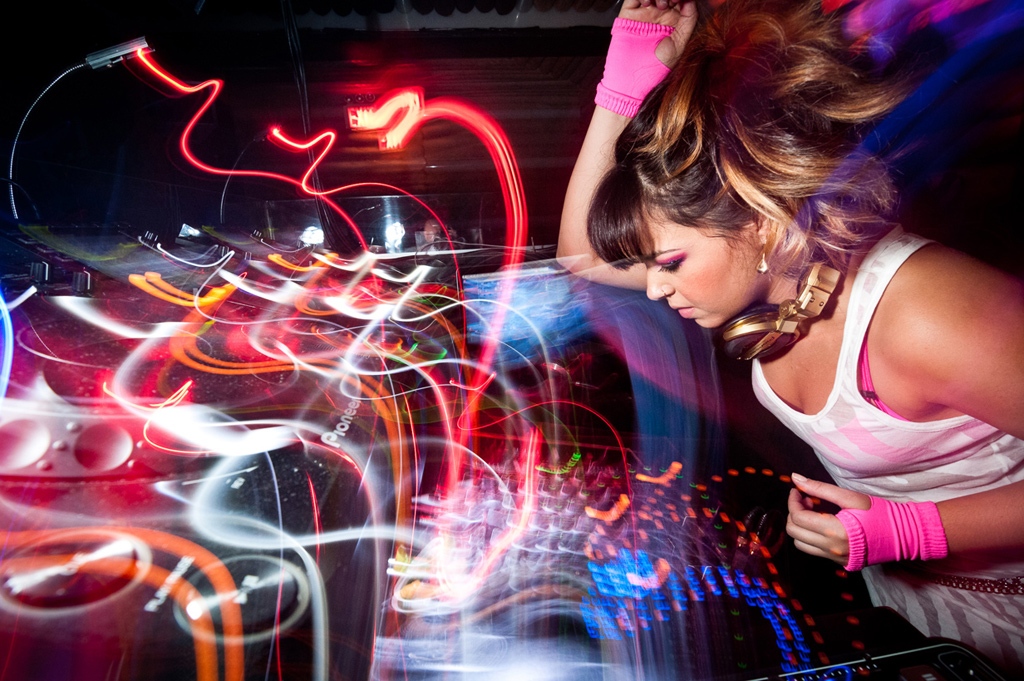
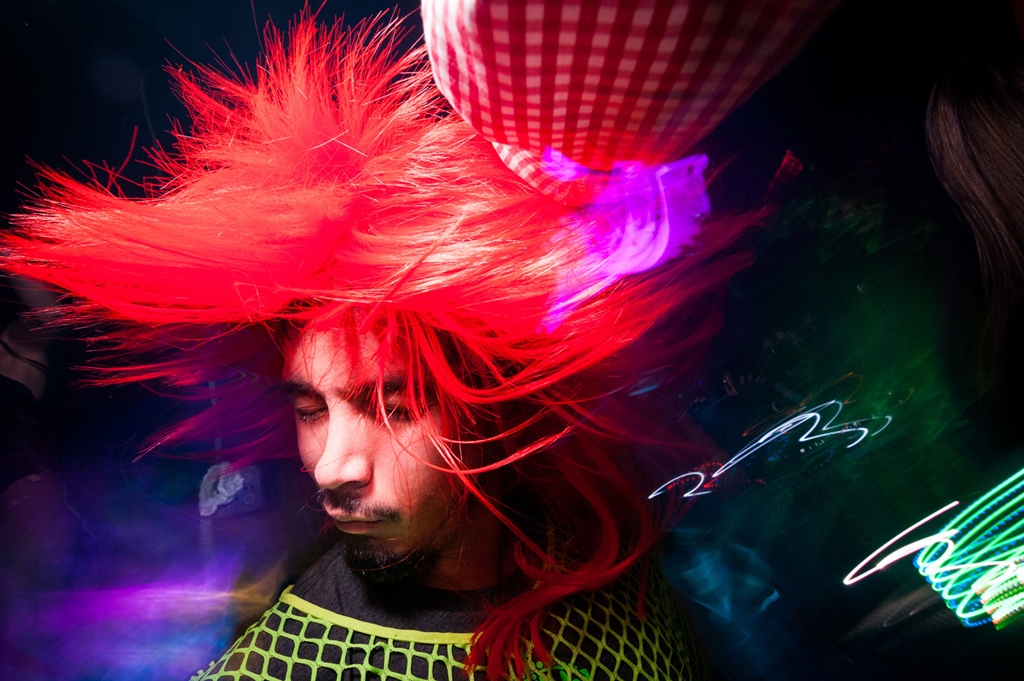
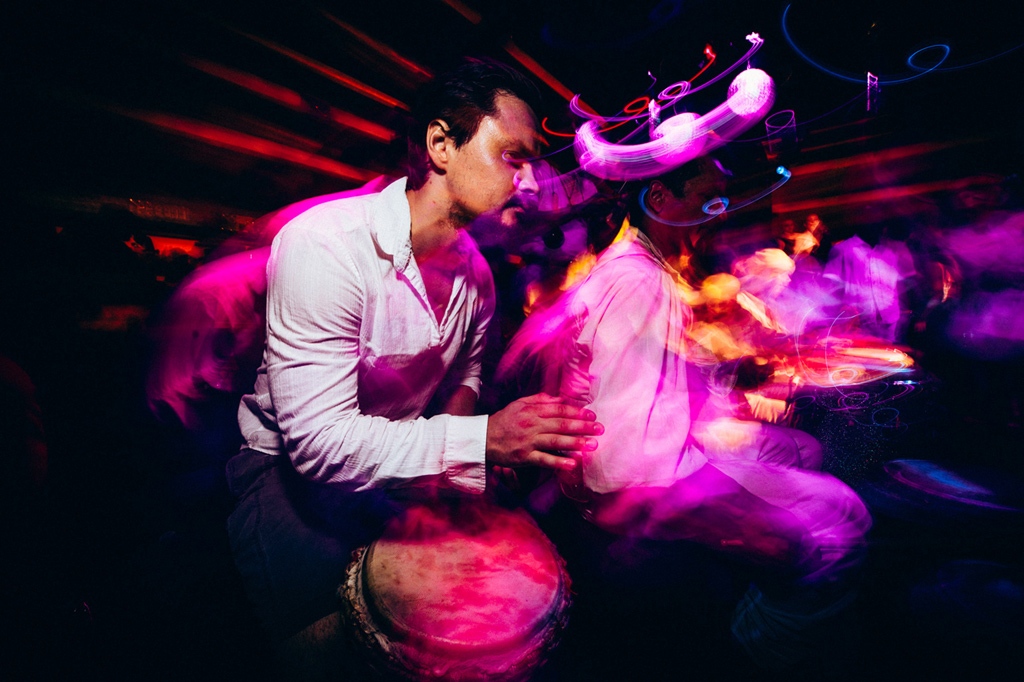
For most people, nightclubs mean music, dancing, drinking and above all – having a good time.No matter how good your creative eye is, taking photos inside a nightclub is one difficult challenge.Aside from the fact that you’ll be shooting in low light, you’ll also have to capture the essence of all these things.
However the combination of low level and pulsating multicoloured lights and subject movement make photographing in bars and nightclubs is tricky.
So, unless you want blurry shots, you should consider studying all the tips and tricks you can find about taking good nightclub photos.
The Right Nightclub Photography Equipment
Nightclub photography is different from regular photography because it involves you working with dim lights and fast movements. There are techniques on how to properly work around these issues, but it is also important that you know what camera and lens to use.
A digital SLR camera – preferably a full frame model is recommended – although any camera which permits manual control over exposure will suffice.
You will also need a speedlight flash unit that can be mounted to the camera via “hot shoe”. The flash unit doesn’t have to be particularly hi-tech as it is going to be used in manual mode (rather that TTL , High speed sync etc)
For optics, a wide angle often gives the best results – typically with a focal length of around 20mm (when mounted on full frame body)
“Fixed” settings for nightclub photography:
1. Exposing for the background.
Set the exposure mode to manual. This is essential as the background lighting is likely to be constantly varying due to the club light show and this will fool the cameras metering system.
Set aperture to around F5.6 (even if you have a “fast” lens with larger aperture capability) – this will ensure depth of field is not too shallow and thus be more forgiving on exact focussing – which is likely to be challenging in the low light conditions.
ISO will also need to be quite high at around ISO 2000. Whilst this may result in some “noise”, using lower ISO will necessitate in either larger aperture or even slower shutter speeds – both of which will have a greater adverse affect. On most DSLRs – especially if you use a full frame (such as the Nikon D610 used by George Papastergis for these photos) the noise levels will be acceptable.
2. Learn Low-Light Shooting Secrets
Without a tripod, you’ll be free to explore and not have to lug around a hefty piece of equipment. But it’s challenging to take photos in low-light situations. However, most DSLRs can take acceptable shots in light that would never work with most films.
To set up your camera for low-light, try this:
Set your ISO to 1600+: Many DSLRs go up to 3200, 6400 or even higher, but you’ll need to experiment to see how much noise shows up in these settings.
Brace yourself: Lean your elbow on the table, stand against the wall or rest on anything solid you can find.
Stick your camera on something: Use the table, the bar or your girlfriend’s purse as your DIY tripod.
Get a stabilized lens: Some lenses have stabilization built in as a feature, and it works pretty well to make clearer images.
Read the full article on Israeli Lens Magazine issue #14 Night & Night Life photography
Copyrighted to Filip Wolak©All rights reserved