Tips And Techniques To Get You Started On Night Photography
Good pictures should leave an impact on the viewer.
Most of us capture our memories with a quick click, but with longer exposures comes a slower and more meditative approach. Night photography pushes the boundaries of time and how we seize it. Photography by definition is writing with light, and at night…well, you get the picture.
More Interesting, More Dramatic, More Mysterious.
1/Use a Tripod.
It’s become rather a photography cliche to recommend a ‘sturdy tripod’ for general photography, but it’s sound advice when it comes to night photography. You’ll be working with long exposures, even with the aperture at its largest setting. In fact, as your photography skills grow, you will find that it is almost impossible to live without a tripod.
2/ No tripod available?
You can of course use a high ISO sensitivity in order to get faster shutter speeds, and in brightly-lit areas of towns and cities this can make handheld photography at night possible. However, to reduce noise and achieve clean colours and to get the most from the camera sensor’s dynamic range, there’s no substitute for a tripod, low ISO sensitivity and the slow shutter speed it entails.
It’s better to set up your tripod and camera equipment before it gets completely dark. Not only will this enable you to compose and focus shots more effectively, it also allows you to capture some colour in the sky.
Floodlit architecture often looks its best when the sky is a deep blue colour rather than coal black. As well as adding depth and interest and providing a cool contrast to the warm lighting, it also makes it easier to create a balanced exposure.
3/ Depth Of Field
Aperture setting: we all know that the higher the f-stop number (the smaller the hole in the diaphragm) the greater depth of field (DOF) we will have. This is another trade-off as a higher fstop means less light is hitting the sensor during a given exposure time. So you want the lowest fstop that will put your night scene in focus, from the closest object to infinity. When there are objects in the foreground, like a tree or boulder, then an aperture setting of at least f-8 is required.
An aperture setting larger than f-8 will generally not give enough depth of field unless you are shooting with a super-wide angle lens. The longer the lens focal length, the less DOF it will have for a given f-stop and you will need a smaller the aperture to get your scene in focus (smaller means the size of the diaphragm hole and a larger the f-stop number).
If your night photography composition has objects that are close to the camera, then focusing on the infinity point will result in the close objects being out of focus. This is a good situation for using the Hyperfocal Distance Technique. In this technique, you do not set the lens distance scale on infinity, but on a point just inside of the infinity setting. Do a test shot and then zoom your camera‘s display to check focus for both distant and closer objects within the image.
Read the full article on Israeli Lens Magazine issue #14 Night & Night Life photography
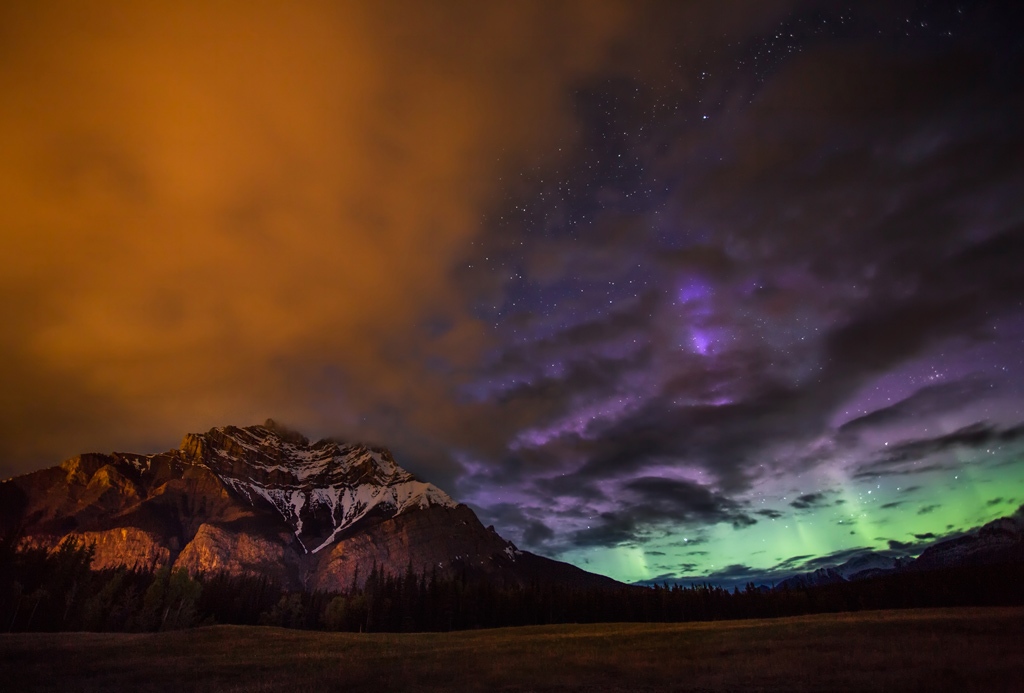
Copyrighted to Paul Zizka©All rights reserved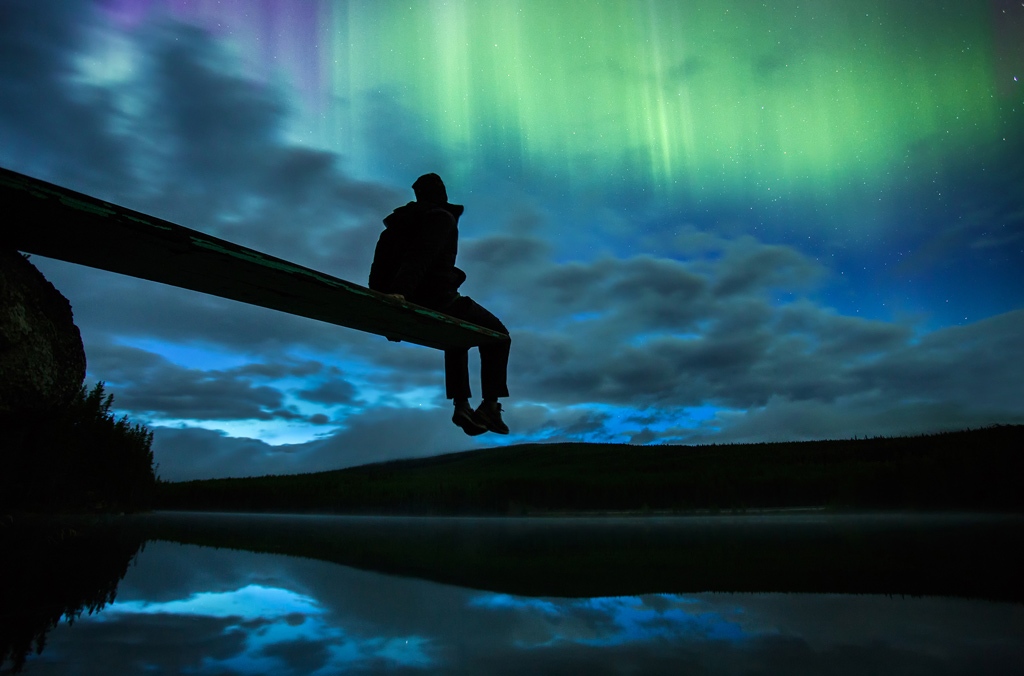
Copyrighted to Paul Zizka©All rights reserved