Wildlife and Nature Photography
by Kevin Lewis
Circle of Fear
Animals, including ourselves, have a natural circle of fear. As you approach an animal, it will normally watch you getting closer and gradually becoming more afraid and, at some point, will either run/fly off or attack you. You have just stepped inside its circle of fear. The size of this circle is very variable and depends on the animal’s attitude at that moment. Is it aggressive by nature? Is it timid? Is it hungry or injured? Etc.
If you sit quietly and let the animal approach you, this circle of fear becomes much smaller because the animal has more control over the situation. Taking advantage of this will allow you to take photographs at a much closer distance giving you higher quality images.
Fill the Frame
Try to always frame the subject in the camera, so you do not have to crop the image significantly. In order to do this, you may have to move closer to the subject or wait for the subject to come closer to you. The moving closer will increase the likelihood of disturbing the subject, so waiting for it to come closer to you is always better. Please remember we should all coexist with wildlife and should not disturb them just for the sake of a photograph.
Camouflage
Camouflage doesn’t necessarily mean wearing full-on camo gear from head to toe. What camouflage does is minimize your presence’s impact on animal behavior by either reducing your visibility or breaking up your outline. Wearing drab-colored clothing can be just as effective as a camouflage outfit. I would recommend wearing gloves as the white floppy things on the ends of your arms can cause animals to react instantly as you move them around. Think about carrying around some lightweight scrim netting that you can throw over yourself and camera gear.
Predicting a Birds Flightpath
Birds hate to stand or fly at a low level with the wind behind them and will naturally land and take off into the wind; they will also perch facing the wind. You can use this behavior to position yourself relative to the birds you wish to photograph and improve the chances of getting the image you want.
Correct Exposure for
In-flight Birds
If the background is constantly changing from land to sky, using an auto exposure mode will result in poor incorrectly exposed images. Try switching to manual mode and taking an exposure reading off of a neutral grey subject which is in the same lighting condition as the subject you want to photograph; something like the grass is always a good choice. Then shoot in manual mode rather than use Av or Tv modes and the EV compensation. If the subject is lightly colored, manually reduce the exposure by 1/2-1 stop; if it is dark-colored, then increase the exposure by 1/2-1 stop. Using manual mode in this way will give you better control over the exposure of birds in-flight. Remember, a bird’s underside in flight will normally be in shadow, so an increase in exposure is usually required.
Catch the Light
The best photographs of wildlife are rarely taken at midday with the sun directly overhead. At noon the sun throws harsh, nasty looking shadows that spoil most photographs.
Early morning or late afternoon
with the sun lower on the horizon, the wildlife photographer can take beautiful warm images with attractive lighting.
Slightly overcast days with high clouds are good for photographing animals that have high contrast.
Dead or Alive?
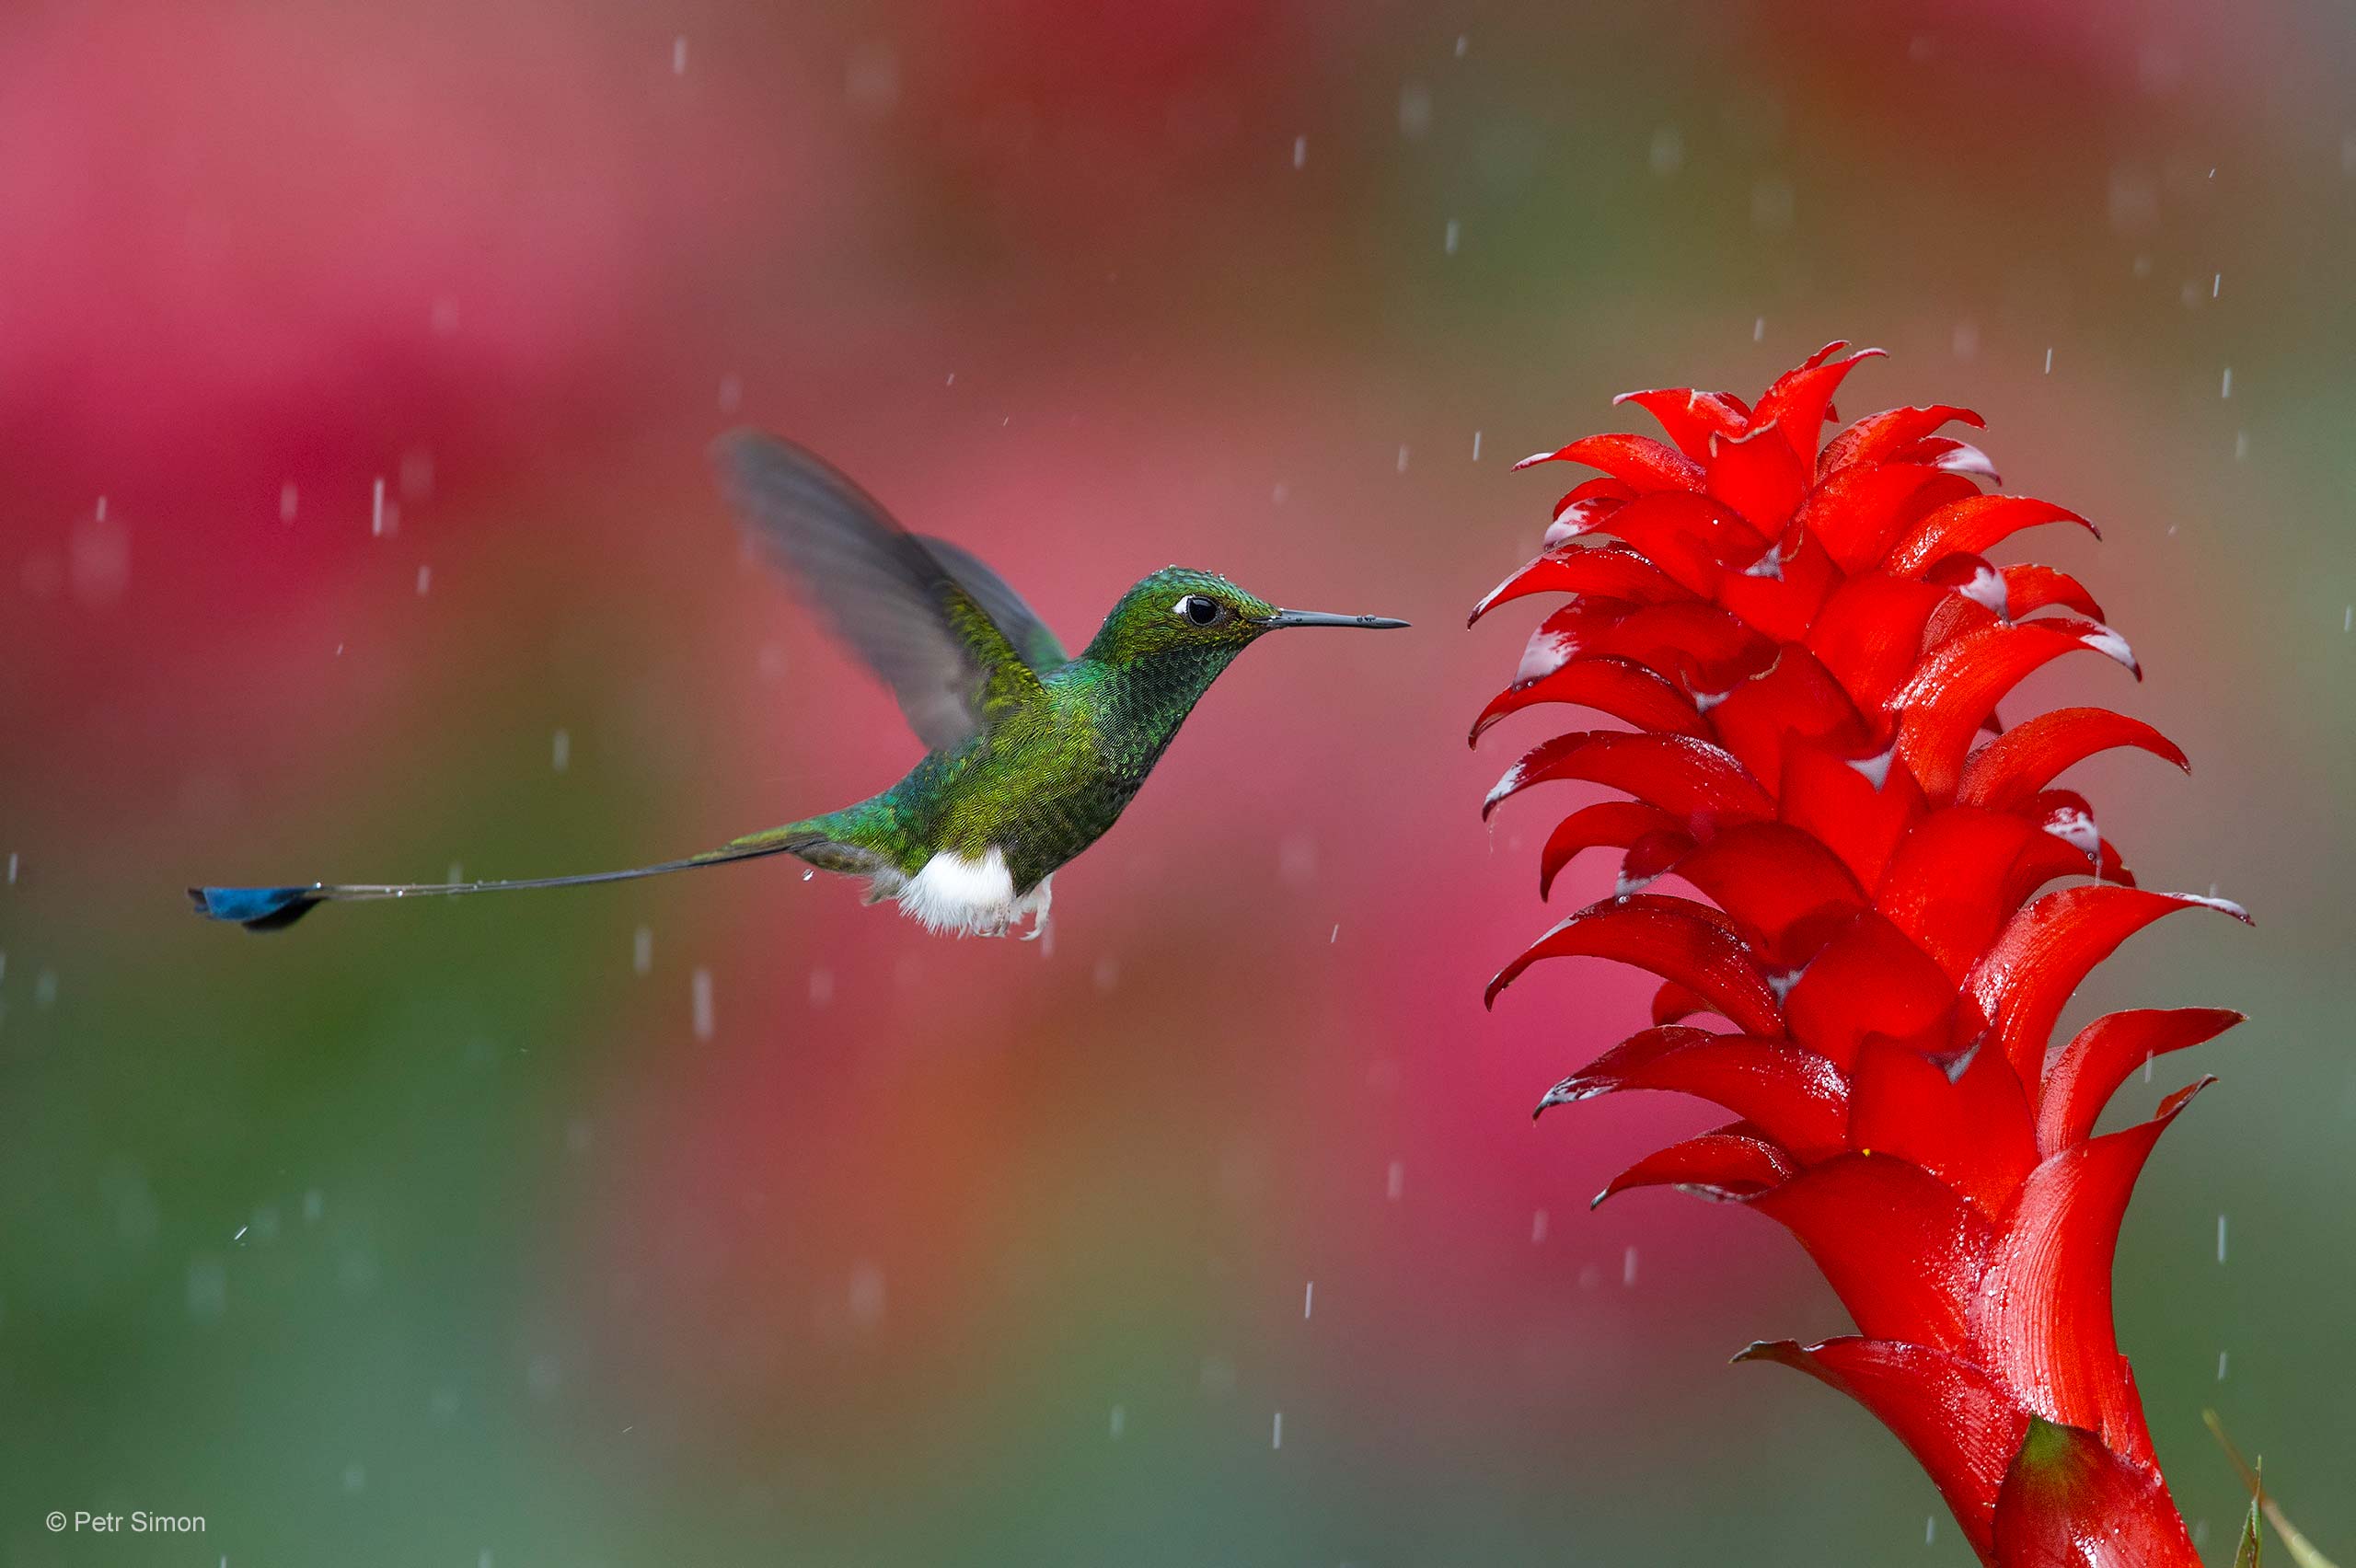
Without a catch light in the eye, an animal photograph appears lifeless. A catchlight can be natural or generated by the careful use of flash, or it can be photoshopped, which I personally hate! If there isn’t a catch light in the eye, I typically throw the image away.
Focus
Most wildlife photography is taken with a long focal length lens from 200mm up to 600mm or greater. The depth of field with the magnification produced by these lenses is very limited, so the point of focus is critical. The eye of the subject is, with very few exceptions, the critical area to focus on. If you allow the lens to autofocus on a subject, it will typically focus on the subject’s chest or side, which means the eye doesn’t pin sharp. If you can, either use manual focus or autofocus on the eye and then use focus lock so you can recompose the image. If the eye isn’t sharp, then bin the image.
Read The full Article On Israeli Lens Magazine Issue#6 Nature, Wildlife and Landscape

Copyright to Will Jenkins ©

Copyright to Jan van der Greef ©

Copyright to Jan van der Greef ©