Water&Underwater Photography
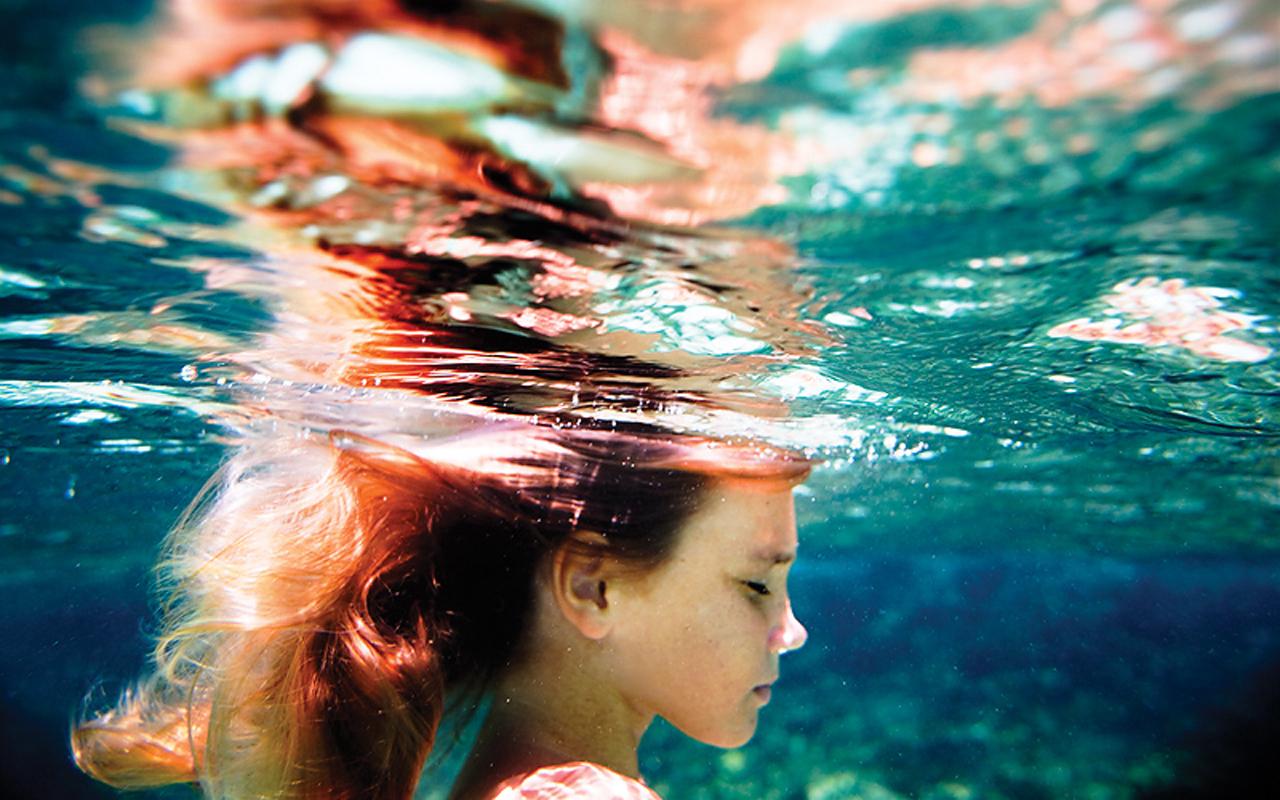
While we love taking photos on land, and sometimes high up in the sky, we can’t resist the magic that takes place underwater.
Taking a waterproof camera or a camera in an underwater housing (such as the Nikon 1 digital cameras that utilize Nikon waterproof housings) into the sea is one of the coolest types of photography that you can do, because it gives you such a unique perspective that few folks experience first hand with their photography.
Get a camera that can work in a (extremely) wet environment, and dive in to capture and conquer the wonders of the water world.
1 / USE THE CAMERA’S UNDERWATER MODE.
Light—more importantly, the various colored light waves—do not behave the same underwater as they do above the surface of the water. As you descend, less and less of the colored wavelengths of light descend, but are filtered out. Red is the first to go, then orange and yellow. Without using a flash underwater, your subjects will be bathed in greenish, bluish light. Go deep enough and there won’t be any visible light reaching that deep. If, however, you were to use a flash or even a flashlight and shine it on your photographic subjects, you’d see that they are more colorful than what may be represented by the camera depending upon the depth you’re making photographs at.
The underwater mode is designed to filter out blue so your images are more representative of the actual color of the objects you’re photographing.
2/ MAKE AN IMPACT – GET CLOSE
Get as close to your subject as possible. Underwater, light has to not only travel from the camera to the subject, but also back to the camera to be recorded. That may sound odd, but it’s why you should use a wide-angle lens if possible rather than zoom into an underwater scene. This is, of course, if you’re shooting a subject that is safe to get close to. [Read: don’t use a wide-angle and get close to sharks or other predatory fish that might decide to make you their dinner!] By cutting the distance that light has to travel, your images will be clearer, with more fine detail visible.
3/ USE THE MACRO MODE to get even closer to tiny subjects. In our last tip, we suggested using a wide-angle lens to get close to your subject. Now, try the macro mode on your waterproof COOLPIX, or if you’re shooting with a camera in
a housing, use a macro lens to get even closer. You’ll be able to photograph corals or fish at close distances that make your images look truly “one-of-a-kind”.
To get close for large animals and reefscapes, use as wide a lens as possible and try to fill the frame
4/ IT’S ALL ABOUT LIGHT
Be it natural or artificial, lighting can make or break your image.
With strobes, the goal is to paint the subject with light giving it a natural appearance. Always consider the direction of the sun and natural light when approaching a subject.
Water absorbs light very quickly, and the most common complaint for new underwater photographers is the dull blueish-greyish hue of their images. Removing the amount of water between the camera and the subject will mean
a clearer, sharper, and more colorful image. Additionally, in water, there are tiny floating particles that you might not notice until they show up in your images.
We refer to these particles as backscatter. Minimizing the amount of water between your camera and your subject will also minimize the amount of backscatter in your images.
Read the full article on Israeli Lens Magazine Issue #12 Water&Underwater Photography
